Using custom coloured note boxes on your Zendesk ticket forms are a great way to highlight key points or gotchas to ensure your message gets across before your customer submits their request. Follow our setup to display a custom notification on a certain ticket form.
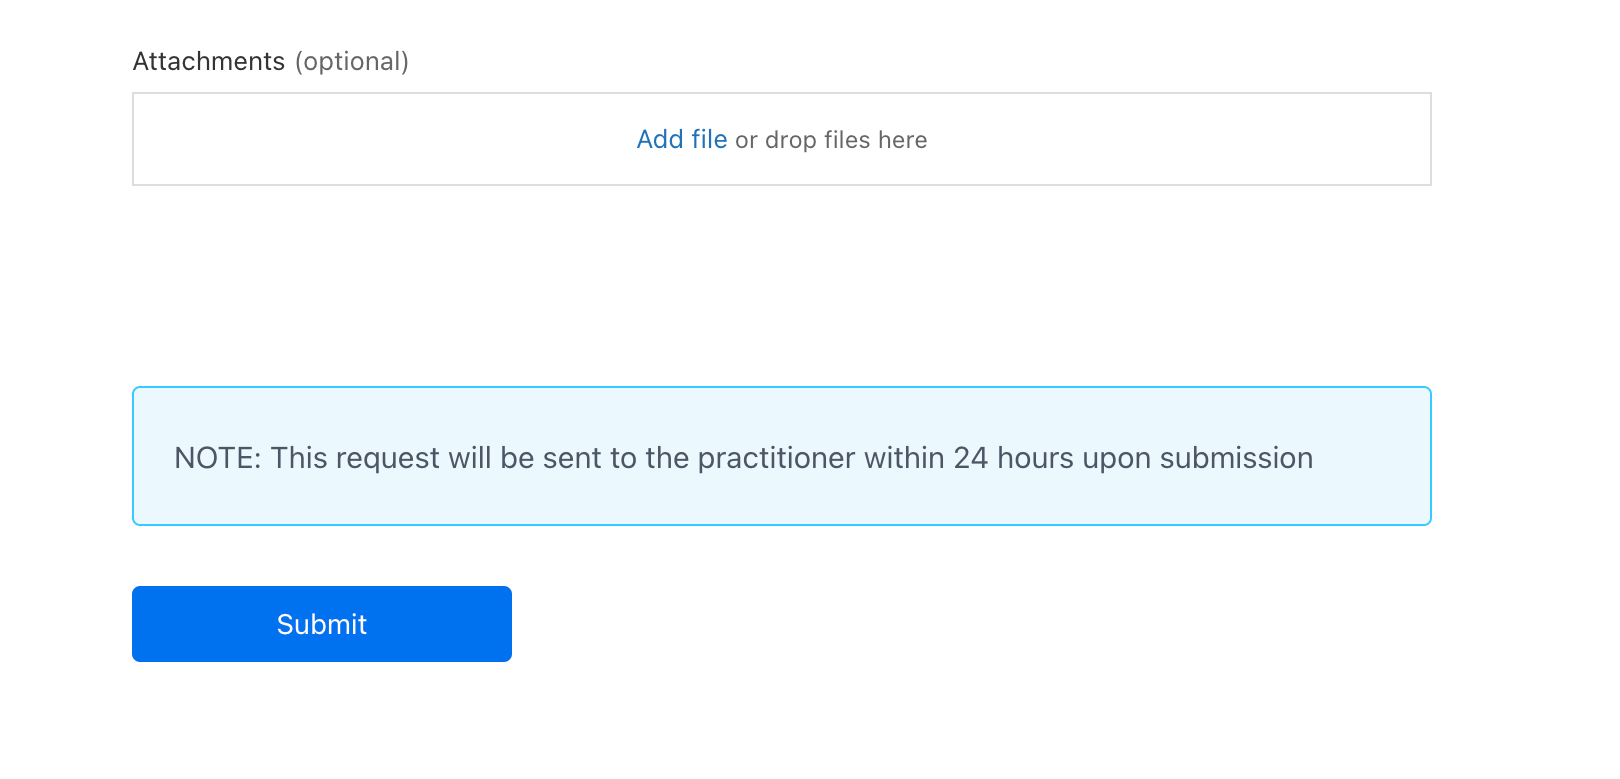
Here's what it looks like and how to add it to your Guide theme.
Adding the custom code to the help centre theme:
1. Navigate to your theme code settings by going to Guide Settings > Customize Design (![]() ) > Click Customize on the theme you would like to edit.
) > Click Customize on the theme you would like to edit.
2. Once inside the theme click the blue 'Edit Code' button and then select the style.css theme page to add the custom code too.
3. On the new_request_page.hbs page template, scroll to the bottom and paste in the following script.
<script type="text/javascript">
(function() {

"use strict";

var getFormId = function() {
var formSelectField = document.getElementById('request_issue_type_select');
if (formSelectField && formSelectField.value !== '-') {
return formSelectField.value;
}

return null;
};

var formId = getFormId();

if (formId !== null) {
var disclaimer = document.getElementById('disclaimer-' + formId);
if (disclaimer) {
var itemToInsertBefore = document.querySelector('form footer input[type="submit"]');
itemToInsertBefore.parentNode.insertBefore(disclaimer, itemToInsertBefore);
disclaimer.style.display = 'block';
}
}
})();
</script>
4. Click the blue Publish button to save the changes added to the template page.
Adding the notification div to the form page:
This is where we can designate what the text will say inside the notification box.
1. Add the following div to the new_requests_page.hbs template
<div id="disclaimer-XXX" class="note" style="display: none;">
This is a disclaimer
</div>
2. Replace XXX with the ticket form ID on which you'd like the notification box to appear
3. Replace the default "This is a disclaimer" text with your own notification text.
3. Click Publish to save the new changes to the template.
Customising the notification box:
1. Navigate to the style.css template and scroll to the bottom.
2. Add the following CSS styling class:
.note {
position: relative;
padding: 20px;
border: 1px solid #33ccff;
background-color: rgba(0,204,255, 0.1);
width: 100%;
margin: 30px auto;
color: #4e5565;
font-style: italic;
line-height: 28px;
border-radius: 4px;
-moz-border-radius: 4px;
-webkit-border-radius: 4px;
}
Optional: Change the colour of the notification box
If you'd like to change the background and border colour of the notification box, you can adjust these 2 styling options in the CSS which you added in step 2 of Customising the notification box.
border: 1px solid #33ccff;
background-color: rgba(0,204,255, 0.1);