Managing the users in Zendesk is really easy! In this article, we're going to show you how you can effectively and easily manage the agents on your Zendesk. Agent management involves the following:
- Agent seat usage
- Seat license management
- Products roles assigned to the agent e.g Chat or Talk
This article covers the following topics:
- Check how many agent seat's you're using
- Analysing your agent seat usage
- Managing agents via the Team members page
- Exporting Team member data to CSV
- Removing agents
- Updating team member data
- Managing your subscription
Check how many agent seat's you're using
First, let's check how many agent seats you're currently utilising in your account at our first stop. It's important to understand the following at this stage:
- If you have any spare paid agent seats are available
- If you have any spare light agent seats available
Follow the steps below on how to check your agent seat count below:
- In Admin Center, click
 People in the sidebar, then select Team > Team members.
 - Review the Seats remaining description on the upper right of the page.
Seats remaining:
- Displays information about how many of the agent seats you’ve used for each product and how many seats you have remaining.
- It also includes a link to add additional seats.

For further information on agent seat usage see this Zendesk Guide: Understanding and checking agent seat usage
Analysing your agent seat usage
After you've reviewed the status of your agent seat count to understand the current state of the account, you can now begin to make an assessment of your agents. You can analyse your agents in 2 different ways.
- Managing agents via the Team Members page
- Exporting team member data to CSV
- Removing agents
Managing agents via the Team members page
The Team members page in the Admin Center provides a central place for admins to add and manage team members (your staff, agents, and admins) in your Zendesk.
- In Admin Center, click People in the sidebar, then select Team > Team members.
- The Team members page will appear.

What you can do on the Team members page:
- View a list of all agents on your Zendesk.
- View roles assigned to agents.
- View product access assigned to agents.
- View seat usage.
- Access an agent's profile by clicking on their name.
- Add team members.
- Search for any agent on your Zendesk.
- Filter the list of agents by various conditions e.g Role - Filter and show all agents assigned to the admin role.
From here you can now assess your agents and make any required updates to their profiles such as adding new product access or downgrading an agent to an end-user if they are no longer a part of your organisation.
For more information on the Team members page see the Zendesk Guide: About the Team members page
Exporting team member data to CSV
The second option for agent management is to export your team member data to a CSV file. This option may be more suitable for you depending on your environment and how you prefer to manage users in your organisation. The CSV file format is a common format that is used by many other systems and allows you to then utilise the data how you wish.
- In Admin Center, click People in the sidebar, then select Team > Team members.
- Click the Actions menu, then select Export team members.

The export starts to generate.

You can continue to work in your Zendesk while it generates. Once your export is complete, Zendesk will send you an email with a link to download your CSV file.
From here you can now look at the data inside your CSV file and make informed decisions where required based on the data. E.g An agent has recently left the company and their last login was 2 months ago according to the last sign-in record in the CSV file for that member.
Example of team member export CSV:
For more information on exactly what data is included in the team member export please see the table in this Zendesk Guide here: Exporting team-member data
Removing agents
During your analysis, you may decide that you need to remove an agent from your account due to them no longer requiring access to your Zendesk.
We recommend you follow the steps here in the Zendesk guide: Best practices for removing agents
Managing your subscription
In the event you discover paid agent seats that are not being utilised, or downgrade an agent and no longer require the agent seat, you can look to reduce the number of agent seats on your subscription.
Note: Only the account owner can make changes to the subscription inside Zendesk
- Customers who purchased directly with Zendesk - Self-service (no account manager): can self-serve inside their Zendesk account.
- Customers who purchased directly with Zendesk - Zendesk sales-assisted (managed): will need to contact their account representative to make this change.
-
Customers who purchased via SuccessCX - with SuccessCX sales-assisted (managed): will need to reach out to us (SuccessCX) to make this change.
- You can reach us at hello@successcx.com.
For self-service customers to make this change
- Follow the instructions to purchase agent seats.
- Update the number of agent seats you need by editing the Seats field.
Reduce the number of seats as well as add them.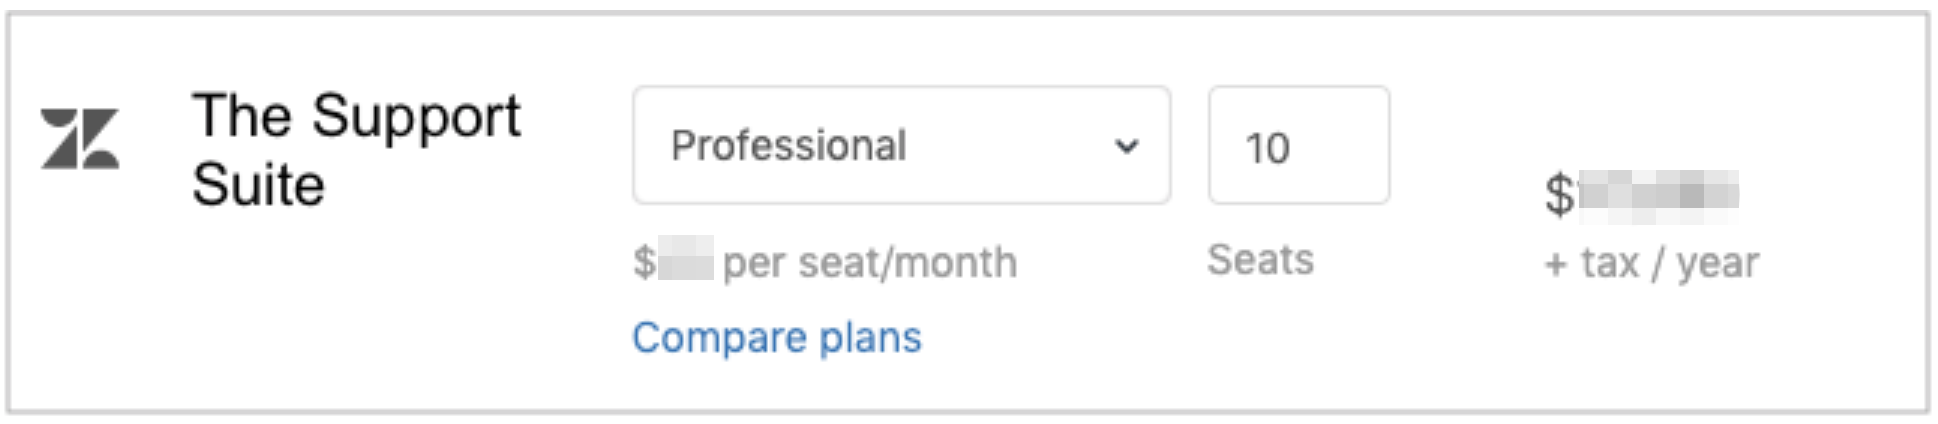
NOTE: These changes will not go into effect until your next billing cycle.
For more information, see the Zendesk Guide: Why did my subscription change not go into effect immediately?
Need further help?
Get in touch with our passionate experts to get further Zendesk guidance